

LST-WP4 Roofing Hot Air Welder
Application
The new generation roofing hot air welder LST-WP4 offers more application diversity with the welding of high quality thermoplastic waterproof membrane (PVC, TPO, EPDM, ECB, EVA, etc.) can be realized quickly in the gutter of the roof, near the edge of the gutter, near the parapet or in other narrow spaces.
Precautions
Parameter
Please confirm that the machine is turned off and unplugged before disassembling the welding machine, so as not to be injured by live wires or components inside the machine.

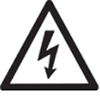
The welding machine generates high temperature and high heat, which may cause fire or explosion when used incorrectly, especially when it is close to combustible materials or explosive gas.
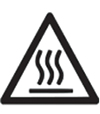
Please do not touch the air duct and nozzle(during welding work or when the welding machine has not completely cooled down), and do not face the nozzle to avoid burns.
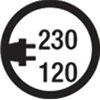
The power supply voltage must match the rated voltage (230V) marked on the welding machine and be reliably grounded. Connect the welding machine to a socket with a protective ground conductor.

In order to ensure the safety of the operators and the reliable operation of the equipment, the power supply at the construction site must be equipped with a regulated power supply and a leakage protector.

The welding machine must be operated under the correct control of the operator, otherwise it may cause combustion or explosion due to high temperature

It is strictly forbidden to use the welding machine in water or muddy ground, avoid soaking, rain or damp.
| Model | LST-WP4 |
| Rated Voltage | 230V |
| Rated Power | 4200W |
| Welding Temperature | 50~620℃ |
| Welding Speed | 1~10m/min |
| Seam Width | 40mm |
| Dimensions (LxWxH) | 557×316×295mm |
| Net Weight | 28 kg |
|
Motor
|
Brush |
| Air Volume | No Adjustable |
| Certificate | CE |
| Warranty | 1 Year |
| Model | LST-WP4 |
| Rated Voltage | 230V |
| Rated Power | 4200W |
| Welding Temperature | 50~620℃ |
| Welding Speed | 1~10m/min |
| Seam Width | 40mm |
| Dimensions (LxWxH) | 557×316×295mm |
| Net Weight | 28 kg |
|
Motor
|
Brushless |
| Air Volume | Stepless adjustable |
| Certificate | CE |
| Warranty | 1 Year |
Main Parts
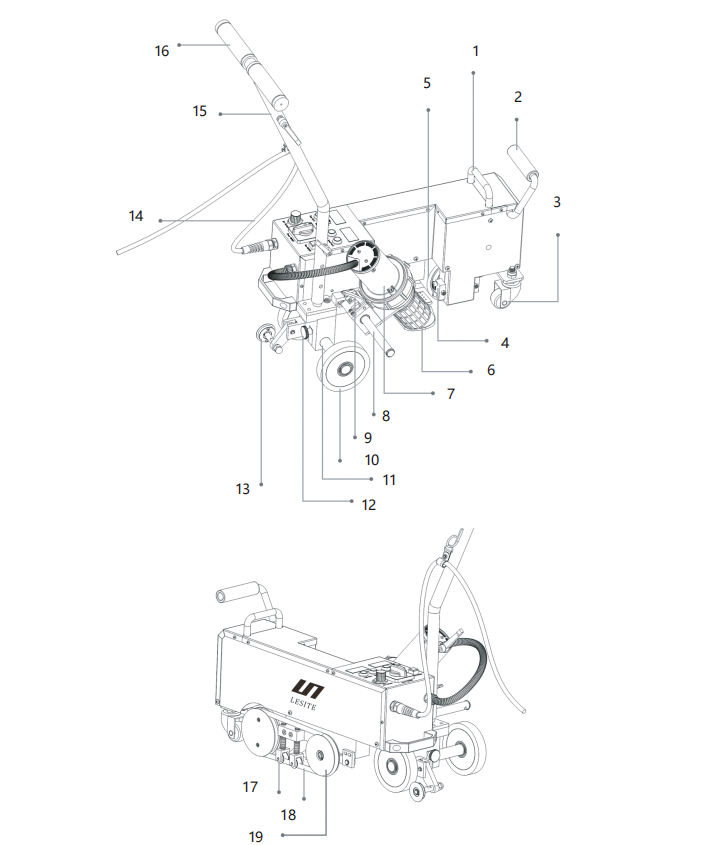
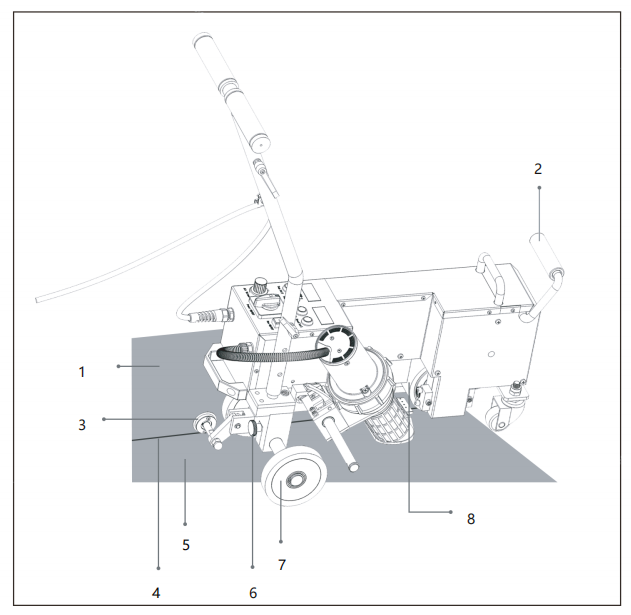
1、Carry Handle 2、Lifting Handle 3、360 Degree Rotation Wheel 4、Directional Bearing 5、Driving Pressure Wheel 6、Welding Nozzle
7、Hot Air Blower 8、Blower Guide 9、Blower Location Handle 10、Front Wheel 11、Front Wheel Axle 12、Fixing Screw
3、Guide Wheel 14、Power Cable 15、Guide Bar 16、Operating Handle 17、Scroll Wheel 18、Belt
19、Pulley
Control Panel
Positioning Before Welding
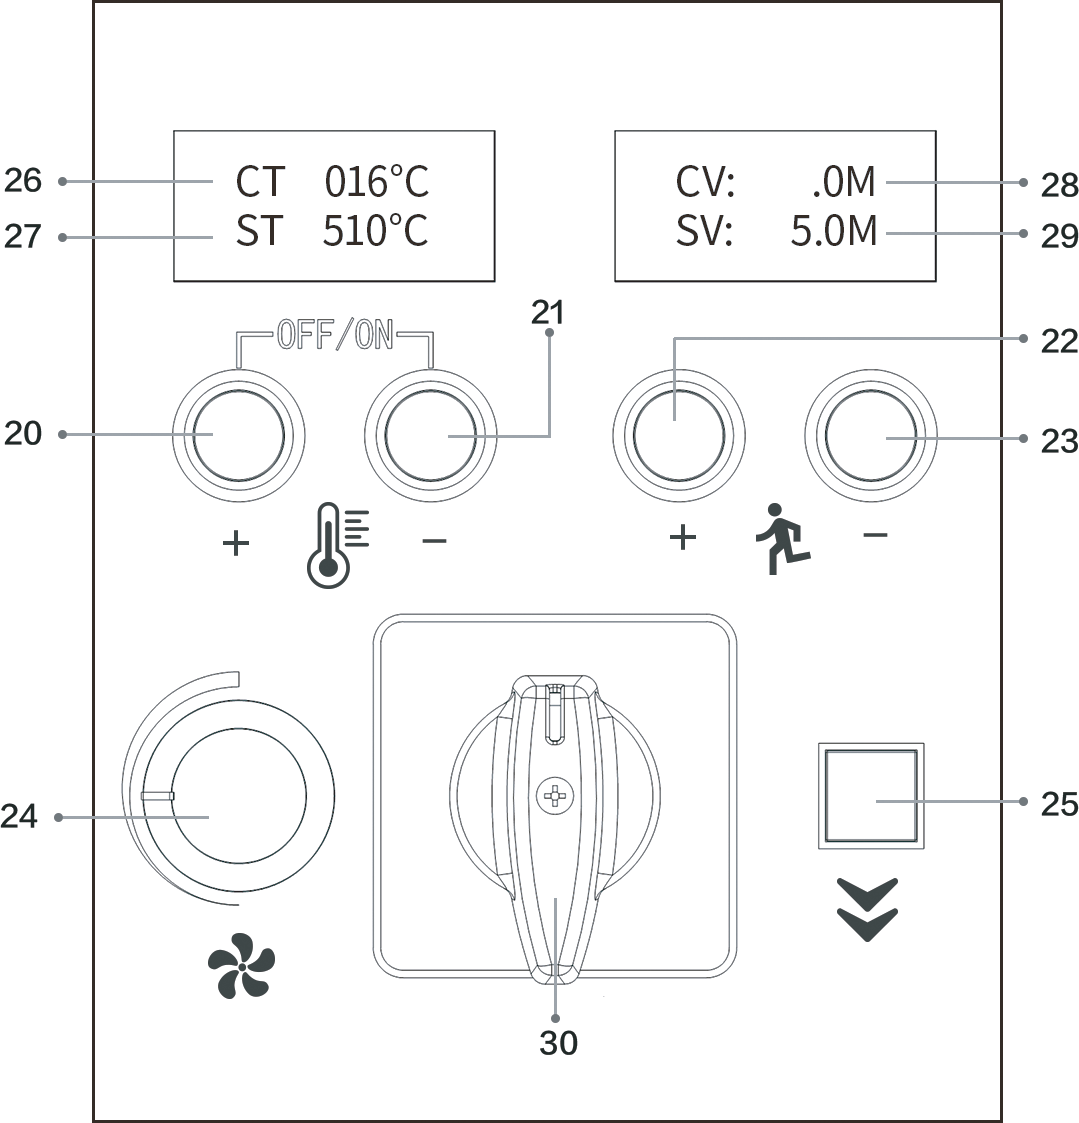
1.Welding temperature:
Using bottoms  to set the required temperature. You can set the temperature according to the welding materials and the ambient temperature. LCD display screen will show the setting temperature and the current temperature.
2. Welding speed:
Using bottoms  to set the required speed according to the welding temperature.
LCD display will show the setting speed and the current speed.
3. Air volume:
Use the knob to set the air volume, increase the air volume clockwise, and decrease the air volume counterclockwise. When the ambient temperature is too low and the current temperature does not reach the setting temperature, the air volume can be appropriately reduced.
● The machine has a memory function parameters, namely when you use the welder next time, the welder will automatically use the last setting parameters without having to re-set parameters.
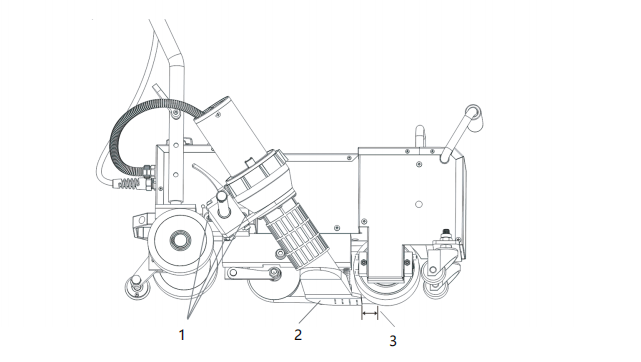
1、Upper Film 2、Lifting Handle 3、Guide Wheel
4、upper membrane edge 5、Lower Film 6、Fixing Screw
7、Front Wheel 8、Driving Pressure Wheel
Press the Lifting Handle (2) to raise the welding machine and move it to the welding position (the edge of the upper film is aligned with the side edge of the Driving Pressure Wheel (5), and the edge of the upper film is also aligned with the edge of the Guide Wheel (13)), loosen the Locking Screw (12) to adjust the position of the Front Wheel (10) from left to right, and tighten the Locking Screws (12) after adjusting, as shown in Figure.
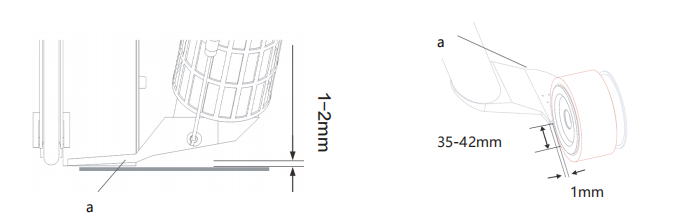
Welding Nozzle Setting
Nameplate
pic1 pic2
◆ Nozzle default position setting
a.Nozzle
The model identification and serial number identification are marked on the nameplate of the machine you choose.
Please provide these data when consulting Lesite Sales and Service Center.

| Error Code | Description | Measures |
| Error T002 | No thermocouple detected | a.Check thermocouple connection,b.Replace thermocouple |
| Error S002 | No heating element detected | a.Check heating element connection,b.Replace heating element |
| Error T002 | Thermocouple failure in operation | a.Check thermocouple connection,b.Replace thermocouple |
| Error FANerr | Overheating | a.Check hot air blower,b.Clean nozzle and filter |
Error Code
Boot Steps
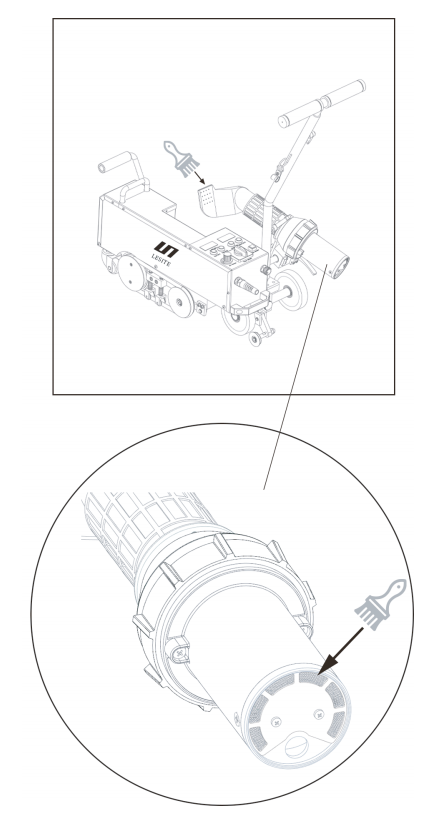
Daily Maintenance

1.Current Temp 2.Current Speed 3.Current Speed
① Turn on the machine, and the LCD display screens are shown as above. At this time, the air blower does not heat and is in the state of blowing natural wind.

1.Current Temp 2.Setting Temp 3.Current Speed 4.Current Speed
② Press the buttons Temperature Rise (20) and Temperature Drop (21) at the same time. At this time, the air blower starts to heat up to the setting temperature. When the current temperature reach the setting temperature, press button Speed
Rise(22) to set speed. The LCD screens are shown as above.
1.Current Temp 2.Setting Temp 3.Current Speed 4.Current Speed
③ Pull up the Blower Location Handle (9) , raise the Hot Air Blower (7), lower the Welding Nozzle (6) to make it close to the lower membrane, move the air blower to the left to insert the welding nozzle into the membranes and make the welding
nozzle in place, At this time, the welding machine automatically walks for welding. The LCD screens are shown above.
④ Pay attention to the position of the Guide Wheel (13) at all times. If the position deviates, you can touch the Operating Handle (16) to adjust.
Shutdown Steps
After completing the welding work, remove the welding nozzle and return to the initial position, and press the buttons Temperature Rise (20) and Temperature Drop (21) on the control panel at the same time to turn off the heating. At this time,
the hot air blower stops heating and is in cold air standby mode while allowing the welding nozzle to cool down after waiting for the temperature to drop to 60°C, and then turn off the power switch.
Default Accessories
· Spare 4000w heating element
· Anti-hot plate
· Steel brush
· Slotted screwdriver
· Phillips screwdriver
· Allen wrench (M3, M4, M5, M6)
· Fuse 4A
Quality Assurance
· This product guarantees a 12-month shelf life from the day it is sold to consumers.
We will be responsible for failures caused by material or manufacturing defects. We will repair or replace defective parts at our sole discretion to meet the warranty requirements.
· The quality assurance does not include damage to wearing parts (heating elements, carbon brushes, bearings, etc.), damage or defects caused by improper handling or maintenance, and damage caused by falling products. Irregular use and unauthorized modification should not be covered by the warranty.
Repairs and Spare Parts
· It is strongly recommended to send the product to Lesite company or authorized repair center for professional inspection and repair.
· Only original Lesite spare parts are allowed.


